程式實作
Server
接下來我們將會逐步地帶各位認識 Node.js 並且嘗試用 Node.js 架設一個基本的 HTTP Server。
a.js
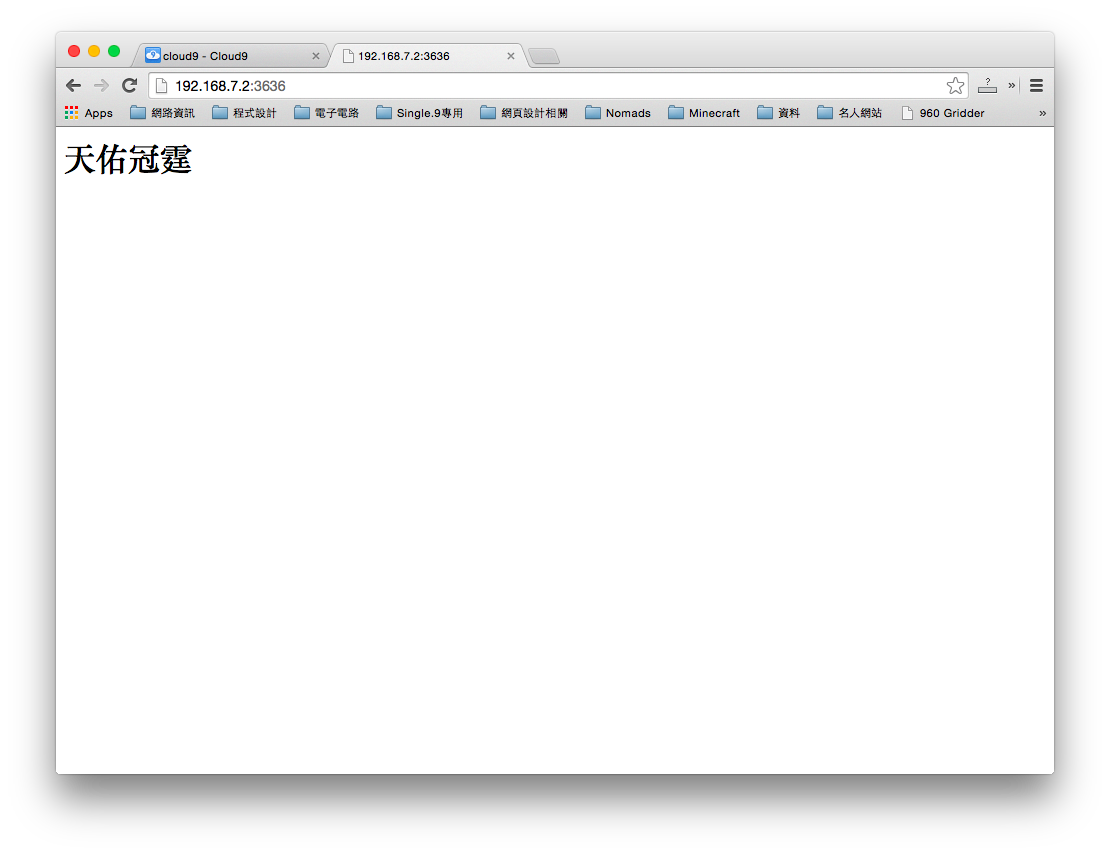
這是一個最簡單的 Server 就如前面章節提到的一樣。
// 引入需要的函式庫
var app = require('express')();
var http = require('http').Server(app);

// 設定連接埠
var port = 3636;

// 設定內容
app.get('/', function(req, res){
  res.send('<h1>天佑冠霆!!</h1>');
});

// 啟動伺服器
http.listen(port, function(){
    console.log('listening on *' + port);
});
執行結果
b.js
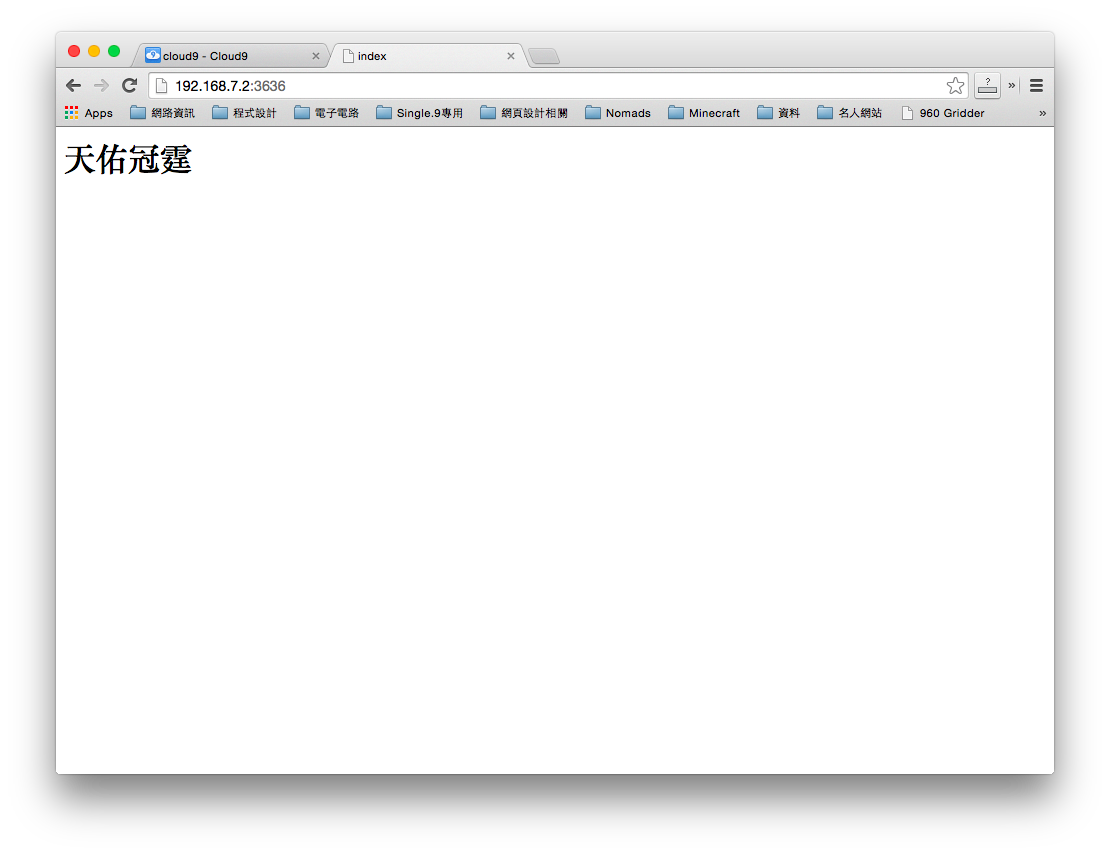
這一個範例則是一個透過網址去切換並且讀取index01.html網頁內容的伺服器範例。
var app = require('express')();
var http = require('http').Server(app);
var port = 3636;
// 讀取 index.html 檔案內容
app.get('/', function(req, res){
res.sendFile(__dirname + '/index01.html');
});
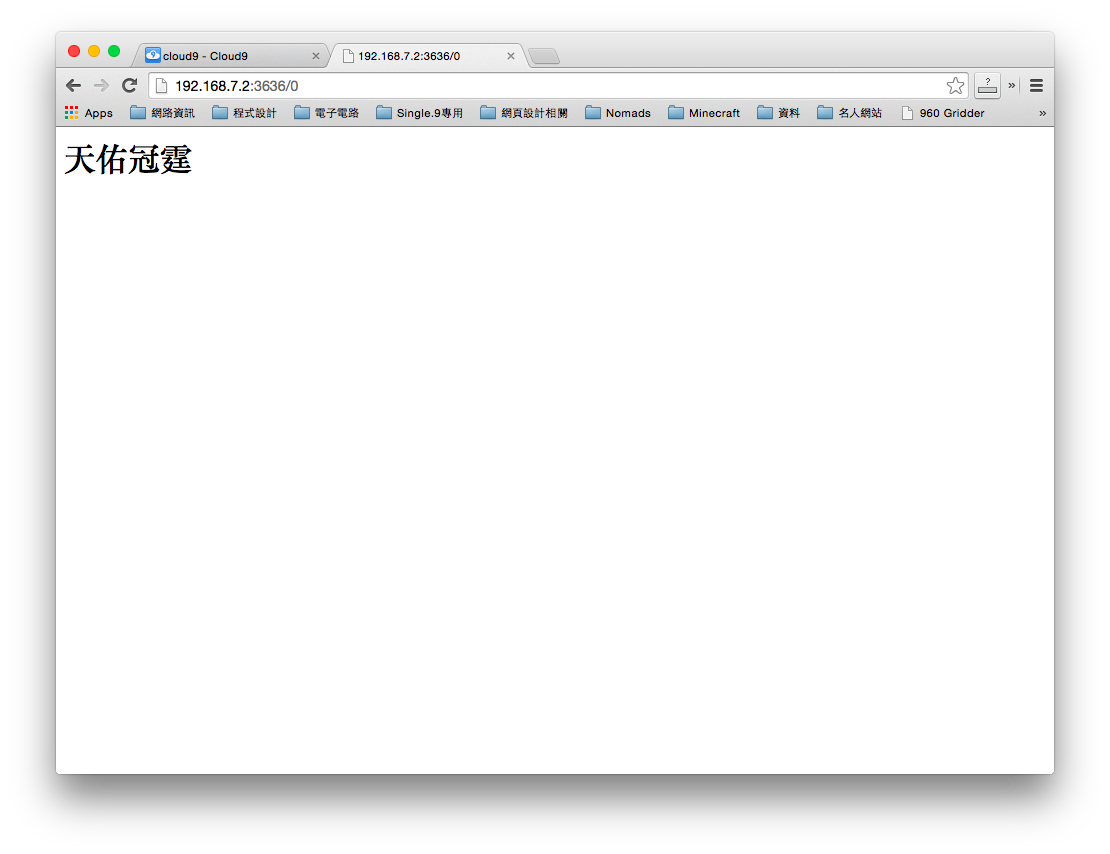
app.get('/0', function(req, res){
res.send('<h1>天佑冠霆!!</h1>');
});
http.listen(port, function(){
console.log('listening on *' + port);
});
index.html
<html>
  <head>
    <title>index</title>
  </head>
  <body>
    <h1>天佑冠霆</h1>
  </body>
</html>
執行結果
c.js
延續上一個範例,這次兩個都是讀取 HTML 的檔案內容。
var app = require('express')();
var http = require('http').Server(app);
var port = 3636;

app.get('/index01', function(req, res){
  res.sendFile(__dirname + '/index01.html');
});

app.get('/index02', function(req, res){
   res.sendFile(__dirname + '/index02.html');
});

http.listen(port, function(){
  console.log('listening on *' + port);
});
index01.html
<html>
  <head>
    <title>index</title>
  </head>
  <body>
    <h1>天佑冠霆</h1>
  </body>
</html>
index02.html
<html>
  <head>
    <title>index</title>
  </head>
  <body>
    <h1>天佑冠霆</h1>
      <input id="ms" autocomplete="off" /><button>Send</button>
  </body>
</html>
執行結果
http://192.168.7.2:3636/index01.html

http://192.168.7.2:3636/index02.html

Socket.io
Socket.io 是 Server 端以及 Client 端之間互相溝通的橋樑,少了這個,就無法透過內部傳輸將 Client 端的資料丟給 Server 去處理。
e.js
var app = require('express')();
var http = require('http').Server(app);
var port = 3636;
var io = require('socket.io')(http);

app.get('/index04', function(req, res){
   res.sendFile(__dirname + '/index04.html');
});

// 啟動 socket.io 並連線
io.on('connection', function(socket){
  socket.on('GJ', function(msg){
    console.log('冠霆回傳: ' + msg);
  });
});


http.listen(port, function(){
  console.log('listening on *' + port);
});
index04.html
<html>
  <head>
    <title>index</title>
    <script src="/socket.io/socket.io.js"></script>
    <script src="http://code.jquery.com/jquery-1.11.1.js"></script>
    <script>
    // 這部分是跟 Server 溝通很重要的部分
     var socket = io();
     // 函式 e()
     function e()
     {
       // 發送訊息給 Server
       socket.emit('GJ', $('#ms').val());
       $('#ms').val('');
     }
    </script>
  </head>
  <body>
    <h1>天佑冠霆</h1>
      <input id="ms" autocomplete="off"/>
      // 按下按鍵時會執行 e() 這個函式
      <button onclick="e()" >GJ</button>
  </body>
</html>
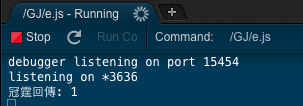
執行結果
http://192.168.7.2:3636/index04
輸入 1 並按下 GJ
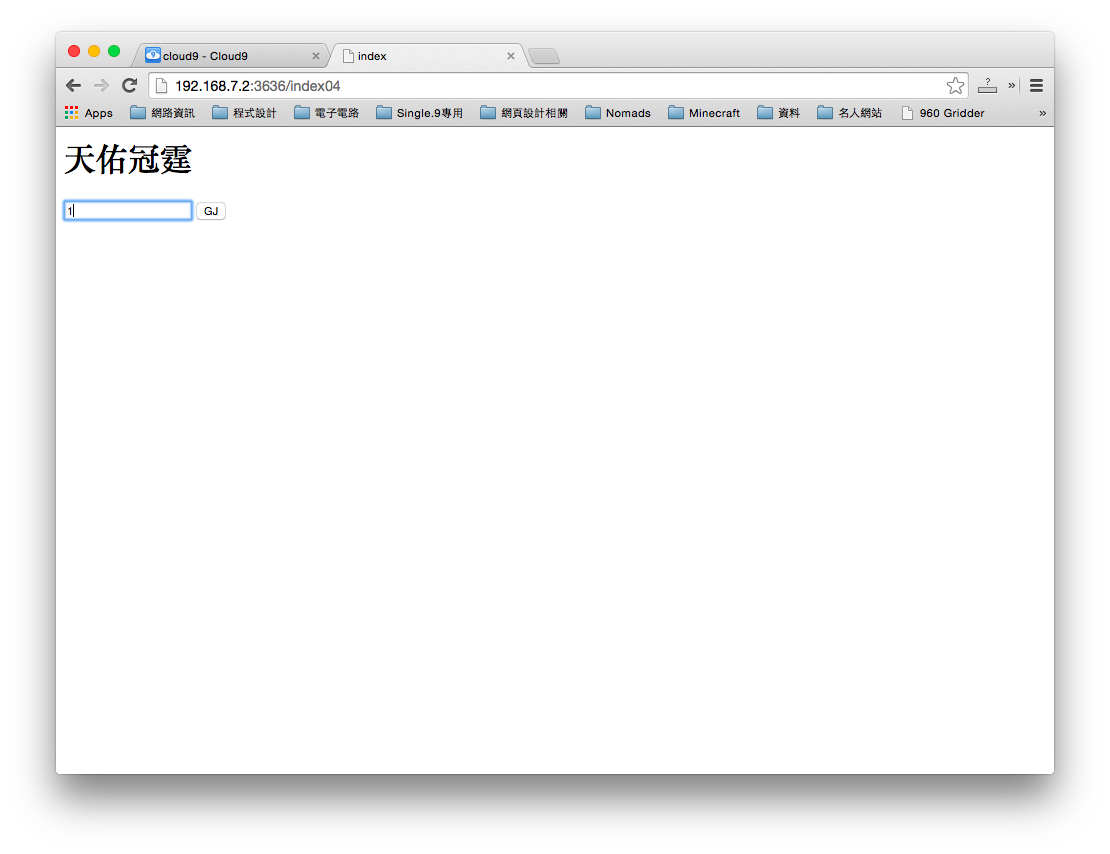
伺服器會接到這樣的訊息
f.js
接下來要開始進入重點了,這邊伺服器端會使用 Beaglebone 的 USR0~3 這四顆已經在板子上面的 LED。
var app = require('express')();
var http = require('http').Server(app);
var port = 3636;
var io = require('socket.io')(http);
var b=require('bonescript');

// pinMode 指定 USR0~3 為輸出
b.pinMode('USR0', 'out');
b.pinMode('USR1', 'out');
b.pinMode('USR2', 'out');
b.pinMode('USR3', 'out');

// 讀取 index06.html 的檔案
app.get('/index06', function(req, res){
   res.sendFile(__dirname + '/index06.html');
});

io.on('connection', function(socket){
  socket.on('GJ', function(msg){
    console.log('冠霆回傳: ' + msg);
    // 收到訊息後的處理
    switch(msg)
    {
      // 為 on 時
      case 'on':
        {
          b.digitalWrite('USR0', 1);
          b.digitalWrite('USR1', 1);
          b.digitalWrite('USR2', 1);
          b.digitalWrite('USR3', 1);
        }break;
      // 為 off 時
      case 'off':
        {
          b.digitalWrite('USR0', 0);
          b.digitalWrite('USR1', 0);
          b.digitalWrite('USR2', 0);
          b.digitalWrite('USR3', 0);
        }break;
      default: break;
    }
    將訊息還給 Client 端
    io.emit('GJ',msg);
  });
});

http.listen(port, function(){
  console.log('listening on *' + port);
});
index06.html
Client
<html>
  <head>
    <title>index</title>
    <script src="/socket.io/socket.io.js"></script>
    <script src="http://code.jquery.com/jquery-1.11.1.js"></script>
    <script>
     var socket = io();

     socket.on('GJ', function(msg){
      $('#ms').val('冠霆' + msg);
    });
     function e(x)
     {
       socket.emit('GJ', x);
     }

    </script>
  </head>
  <body>
    <h1>天佑冠霆</h1>
      <input id="ms" autocomplete="off" value="冠霆off">
      <button onclick="e('on')" >冠霆~~亮!</button>
      <button onclick="e('off')" >冠霆~~滅!</button>
  </body>
</html>
執行結果
點下 冠霆~~亮! 時 USR0~3 會亮反之則暗
36號潮流GT燈號控制器
重頭戲來啦!整合上面所有的東西後,就可以做成這樣的東西囉。
g.js
Server 端的內容
var app = require('express')();
var http = require('http').Server(app);
var port = 3636;
var io = require('socket.io')(http);
var b = require('bonescript');
var a = 0;
var t;
b.pinMode('USR0', 'out');
b.pinMode('USR1', 'out');
b.pinMode('USR2', 'out');
b.pinMode('USR3', 'out');

app.get('/index07', function(req, res){
   res.sendFile(__dirname + '/index07.html');
});
var s = function()
    {
      b.digitalWrite('USR0', a);
      b.digitalWrite('USR1', ~a);
      b.digitalWrite('USR2', a);
      b.digitalWrite('USR3', ~a);
      a=~a;
      //setInterval(s(t), t*100 );
    }

io.on('connection', function(socket){
  socket.on('GJ', function(msg){
    console.log('冠霆回傳: ' + msg);
    io.emit('GJ',msg);
    clearInterval(t);
    t = setInterval(s, msg*100 );
  });
});


http.listen(port, function(){
  console.log('listening on *' + port);
});
index07.html
Client 的部分
<html>
  <head>
    <title>index</title>
    <script src="/socket.io/socket.io.js"></script>
    <script src="http://code.jquery.com/jquery-1.11.1.js"></script>
    <script>
     var socket = io();

     socket.on('GJ', function(msg){
      $('#ms').val('冠霆' + msg);
    });
     function e(x)
     {
       socket.emit('GJ', x);
     }

    </script>
  </head>
  <body>
    <h1>天佑冠霆</h1>
      <input id="ms" autocomplete="off" value="冠霆off"><br>
      <input onchange="e($('#range').val())" type="range" min="1" max="11" step="1" id="range" />
  </body>
</html>
執行結果
http://192.168.7.2:3636/index07

滑度滑桿後,Server 會回傳目前速度

好了,現在你可以透過網頁來控制 Beaglebone 上的 LED 的閃爍速度了!